Ingredients:
(makes 12~13 mini mooncakes)
for dough:
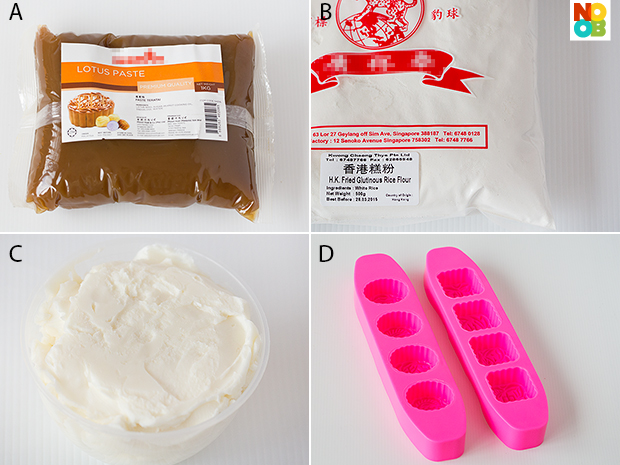
100g plain flour
70g golden syrup (I used Abram Lyle's Golden Syrup with maple flavor)
2ml alkaline water
25ml peanut oil (I replaced with canola oil)
for filling:
415g tiramisu lotus paste
40g melon seeds
Method:
- Mix lotus paste with melon seeds. Divide the filling into 35g portions and shape into balls. Set aside. (Note: I used a dough: filling ratio of 3:7, for 50g mooncake mould)
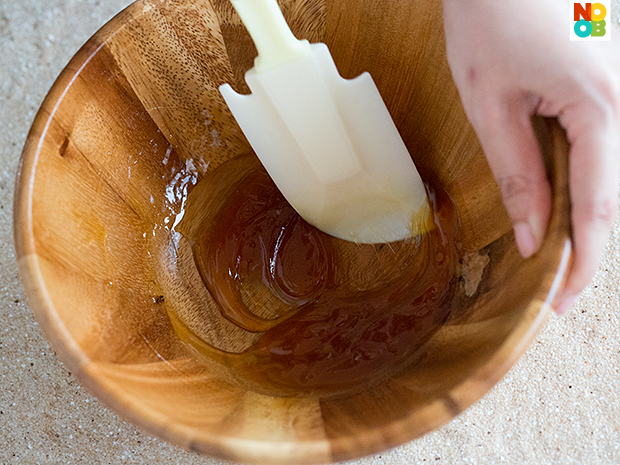
- Place golden syrup in a bowl. Add in alkaline water, stir to combine. Add in oil, mix well.
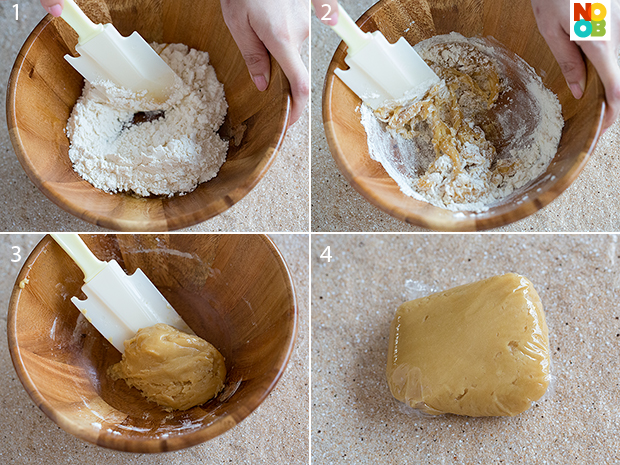
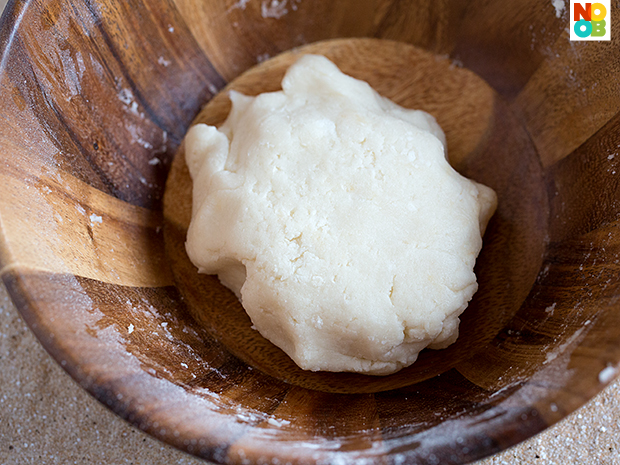
- Place plain flour in a mixing bowl,make a well in the centre. Add in the above mixture. Mix with a spatula to form a soft dough. Gently knead the dough till smooth (takes 1~2 mins). Shape it into a smooth round dough. Wrap with cling wrap and leave in fridge to rest for at least 2 hours or over night. This step is known as 醒面.
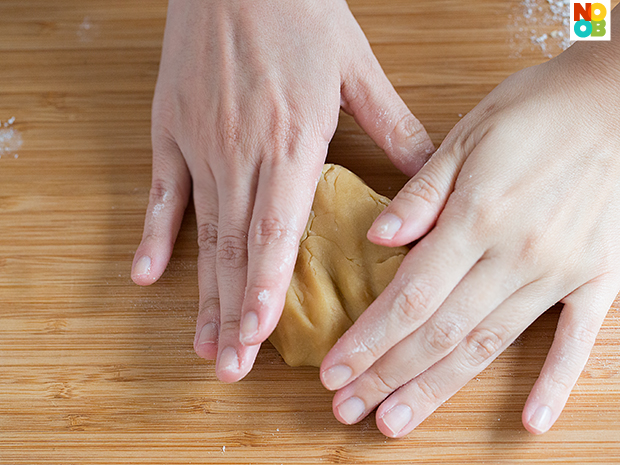
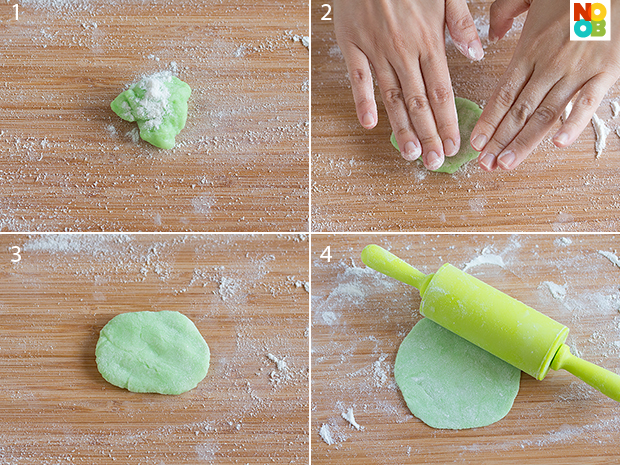
- Dust work surface with some flour. Give the dough a few light kneading to smooth it.
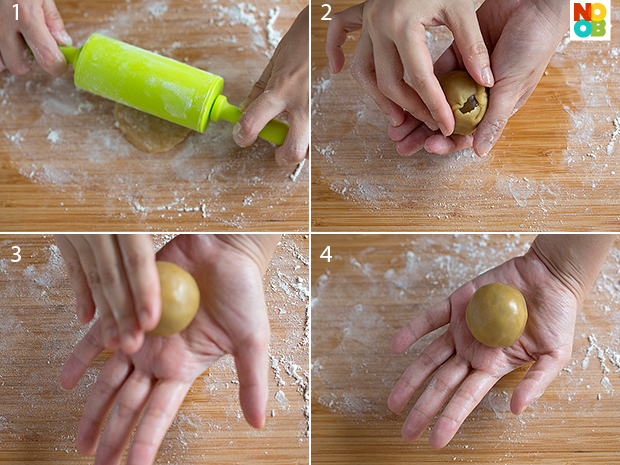
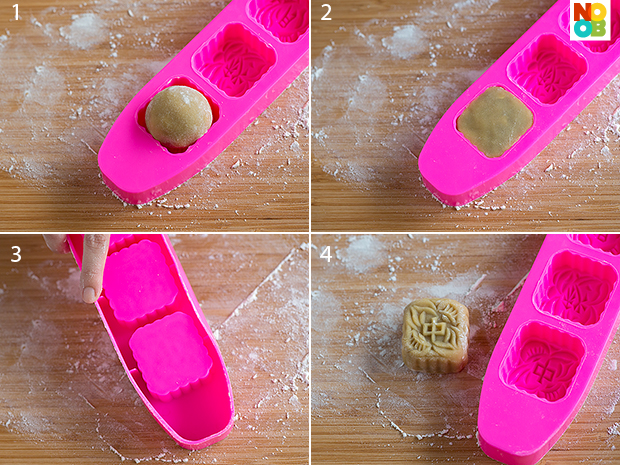
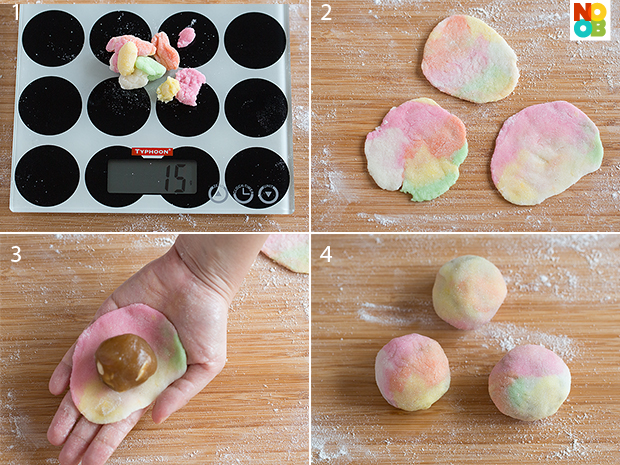
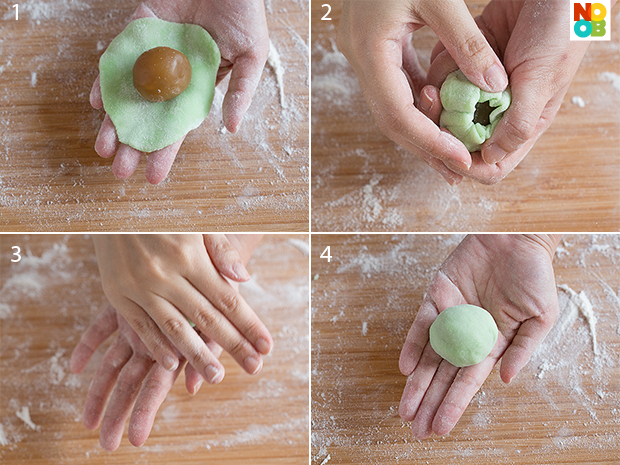
- Divide dough into 15g pieces. Shape each dough into a ball. Roll each dough over some flour. Dust hand with flour and flatten each dough into a small disc (about 5cm in diameter). Wrap it around the filling and shape it into a ball. (always dust hand with some flour to avoid the dough from sticking).
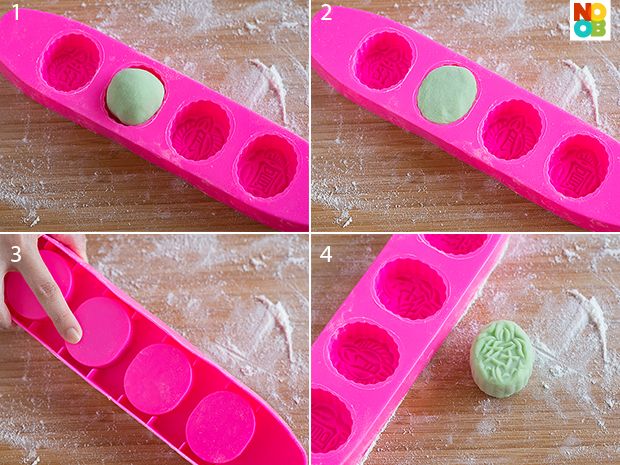
- Lightly dust the wrapped dough with some flour. Place it in the mooncake mould and press the mooncake out. Place mooncake on a baking tray line with parchment paper.
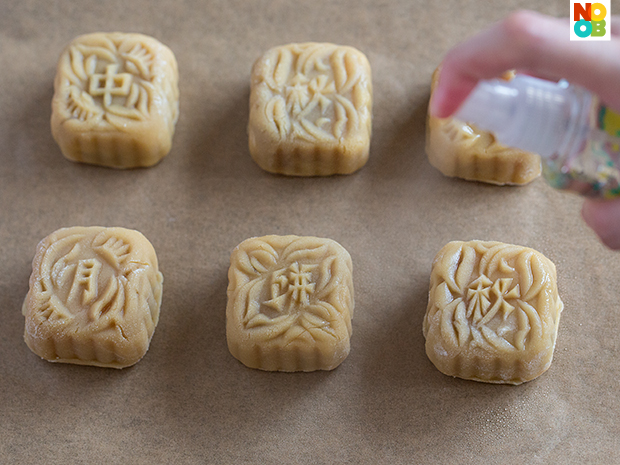
- Spray some water on the mooncakes. (Note: this helps to prevent the mooncake from cracking during baking.)
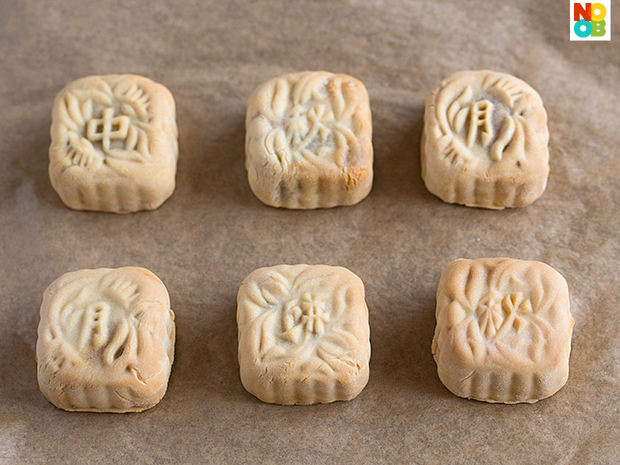
- Bake at preheated oven at 180degC for 10mins. Remove from oven and leave to cool for 15mins (do not skip this step).
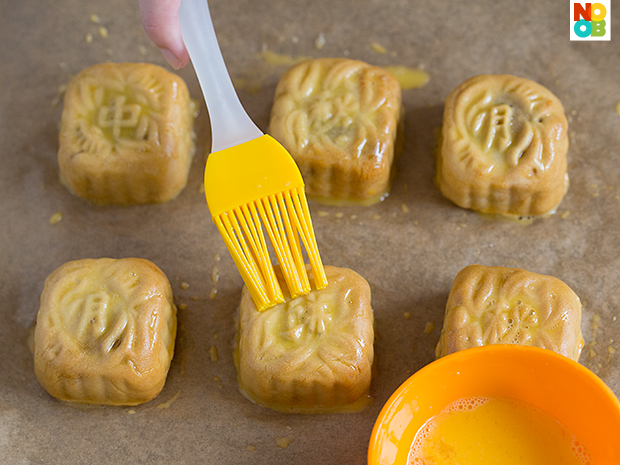
- Brush the top with some egg wash. Return to oven and continue to bake for another 15mins until golden brown (since all oven works differently, do check after 10mins, and subsequently every other 2 mins to make sure the mooncakes are not over browned).
- Leave mooncake to cool completely and store in air tight containers. Wait for 2 ~ 3 days for the mooncakes to 回油 (for the skin to soften) before serving.